
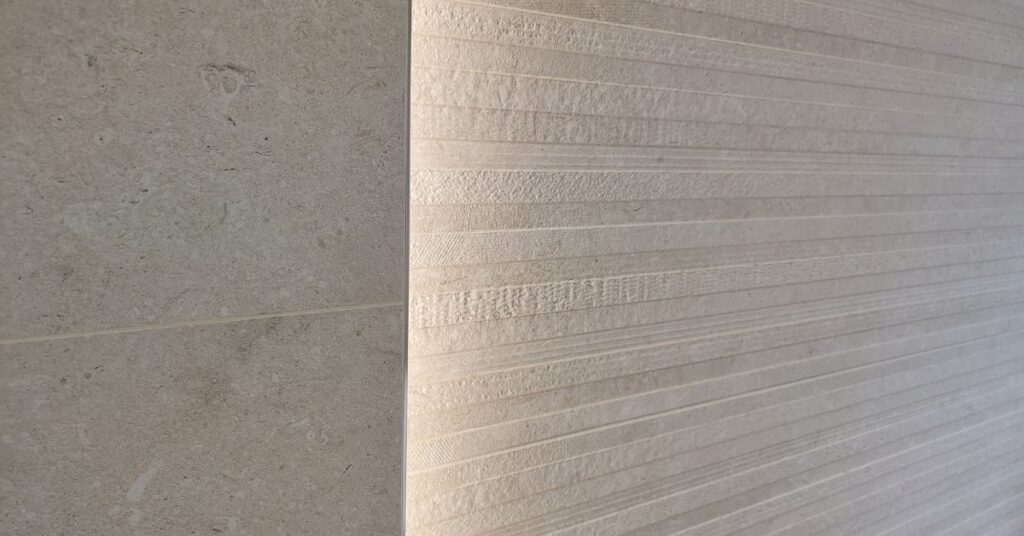
When planning a bathroom, two things shape the entire look and feel: your sanitaryware and your wall and floor coverings. Today, we’re focusing on bathroom tile design; from layout principles and material choices to sizing and installation patterns. Whether you’re dreaming of a spa-like retreat or a sleek, modern space, this guide will help you make confident, stylish decisions about your wall coverings.
Materials
Let’s start with the basics: what are tiles made of? There are three main types — ceramic, porcelain, and natural stone. Each has its own strengths and ideal uses, not just in bathrooms but across your home.
Ceramic
Made from red or white clay, ceramic tiles are most commonly used on walls. They’re less dense than porcelain, making them more suitable for vertical surfaces. All ceramic tiles have a printed design and a glaze finish (even the matt ones), which gives them a clean, sealed surface.
Porcelain
Porcelain tiles are the workhorse of modern tiling. Made from finer clay and fired at higher temperatures, they’re denser, less porous, and incredibly durable. Due to their build Porcelain tiles are best for floors, high traffic areas or anywhere you want a long-lasting, low maintenance surface.
– Fully vitrified porcelain: The colour and pattern run all the way through the tile, so even if it chips (which is rare), the surface remains consistent. These come in matt or polished finishes.
– Printed porcelain: Similar to ceramic, these have a printed design applied to the surface, offering more variety in look and texture.
Natural Stone
Natural stone tiles; including marble, travertine, limestone, and slate — are cut directly from the earth, making each tile unique. They require sealing and ongoing maintenance, but offer a timeless, luxurious finish; where every piece adds to the overall story of the room.
Sizes
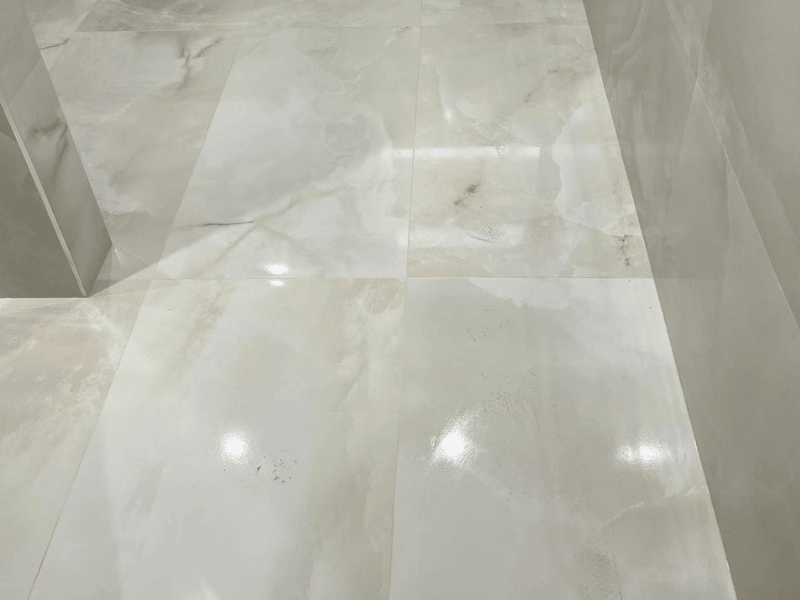
Tile sizes have evolved dramatically over the years. Here’s a quick breakdown of common formats and where they work best.
Wall Tiles
Traditionally, 20×30 cm and 30×60 cm were the go-to sizes. Today, thanks to improved technology, wall tiles can go up to 60×120 cm or even 45×150 cm.
Large format tiles (30×90 cm and up) are often rectified; meaning their edges are cut to a precise 90°, allowing for tighter grout lines (as little as 1–1.5 mm).
Floor Tiles
Most floor tiles are porcelain, built to withstand heavy use. Smaller tiles (like 30×30 cm) may be ceramic, but are best suited to low-traffic areas.
Larger floor tiles are also rectified, though with slightly softened edges for comfort underfoot.
Grout: The Small Detail That Makes a Big Difference
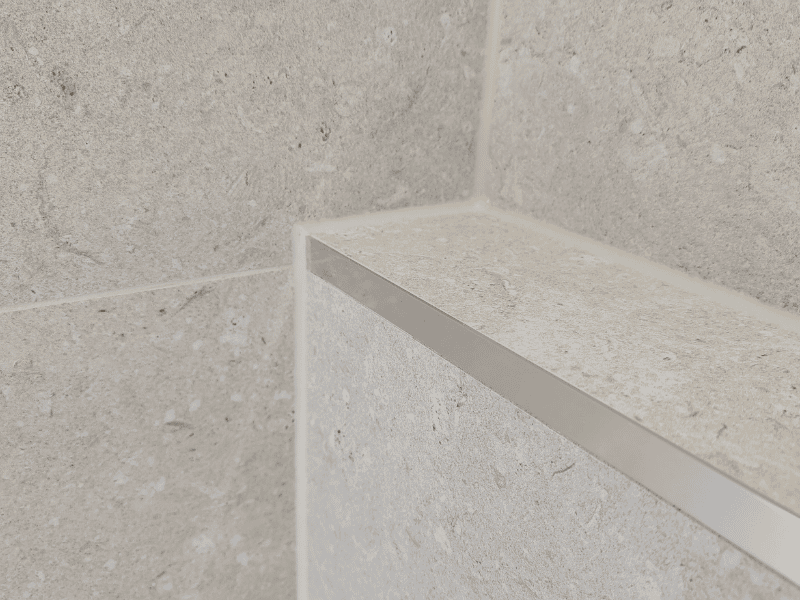
Grout colour and joint width can completely change the look of your tiles. A matching grout creates a seamless, modern feel, especially with large‑format tiles. A contrasting grout highlights the shape and pattern of the tile; ideal for metro tiles or herringbone layouts.
Rectified tiles allow for tighter joints (as little as 1–1.5 mm), while non‑rectified tiles typically need wider spacing. Choosing the right grout is just as important as choosing the tile itself.
Putting It All Together
Let’s say you’ve found a tile you love, and it comes in three wall sizes and three floor sizes. Which one suits your space best?
Wall Example
If your wall is 2.84 m long and the tile options are 30×60, 30×100, and 30×150:
– 30×60 cm = 5 tiles per row (more grout lines, more visual breaks)
– 30×100 cm = just under 3 tiles per row
– 30×150 cm = just under 2 tiles per row
Fewer tiles mean fewer grout lines and a cleaner, more seamless look. The 30×100 or 30×150 options would likely feel more premium and visually balanced.
Height-wise, most tiles are similar, so you’ll typically have 6–8 tiles running floor to ceiling.
Floor Example
Using the same 2.84 m width, and tile options of 60×60, 80×80, and 120×120:
– 120×120 cm = 2 full tiles and a 44 cm cut
– 80×80 cm = 3 full tiles and a cut, or 2 full tiles with 2 cuts for symmetry
In most cases, the largest tile that fits well will give the most elegant result.
Laying Patterns
Tile layout can dramatically affect the feel of a room. Here are some popular options:
– Straight bond: Clean and simple, tiles aligned in rows and columns. Works well for both walls and floors.
– Brick bond: Great for smaller tiles (like metro styles), often used in splashbacks.
– Quarter bond: Ideal for rectangular floor tiles, creating a sense of flow and elongation.
– Herringbone: Visually stunning but requires skill and precision, especially when matching adjoining walls. Expect more tile waste with this pattern.
Getting Tile and Design Advice
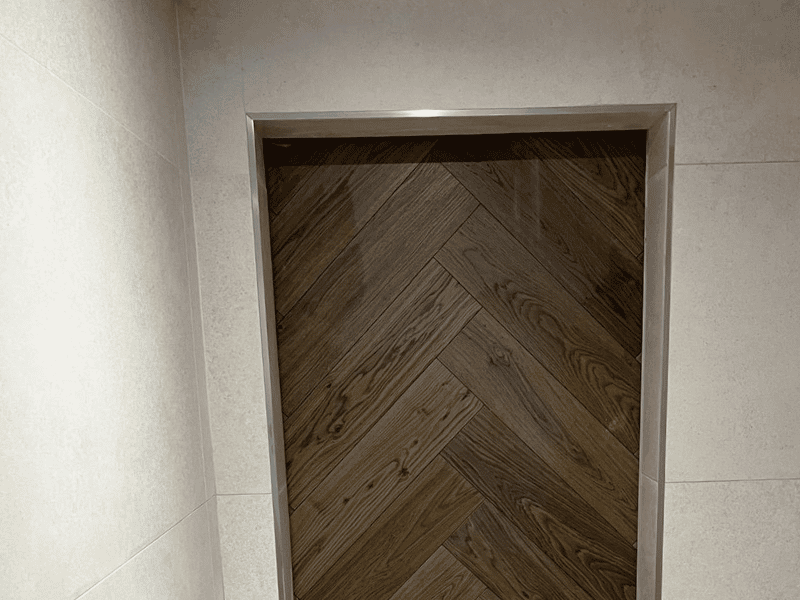
A great place to start is the tile companies themselves. See how they’ve laid tiles in their showroom, what grout and trims they’ve used, and most importantly, what you think of it.
If you’re thinking about your next tiling project and want some tiling or design advice, contact us today. We help homeowners make confident, well‑informed choices every day, and we’d be happy to guide you through the options that will work best for your space. Click HERE to get in touch with us today.